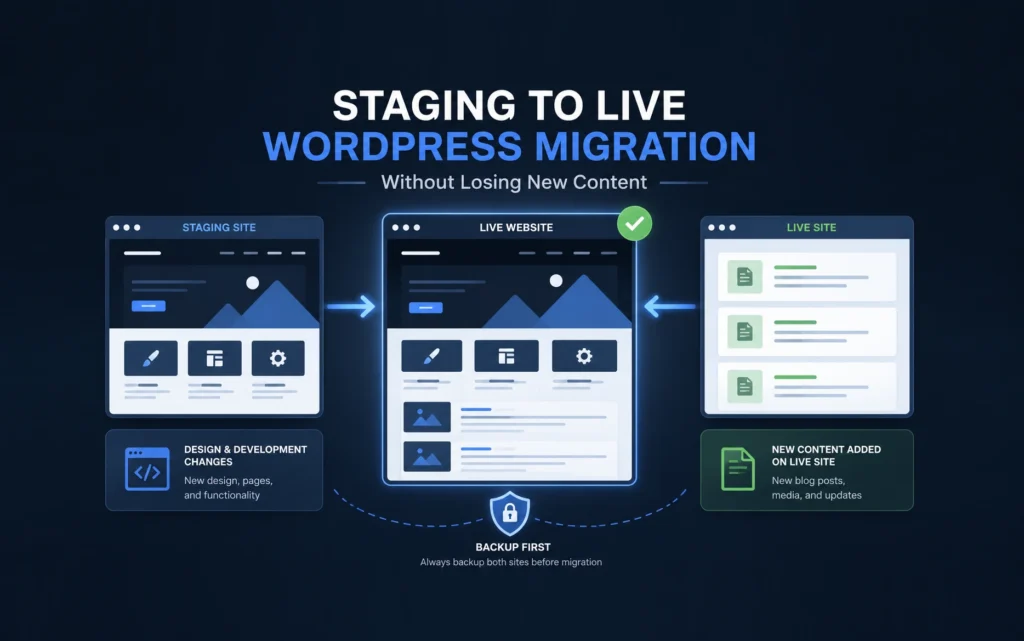
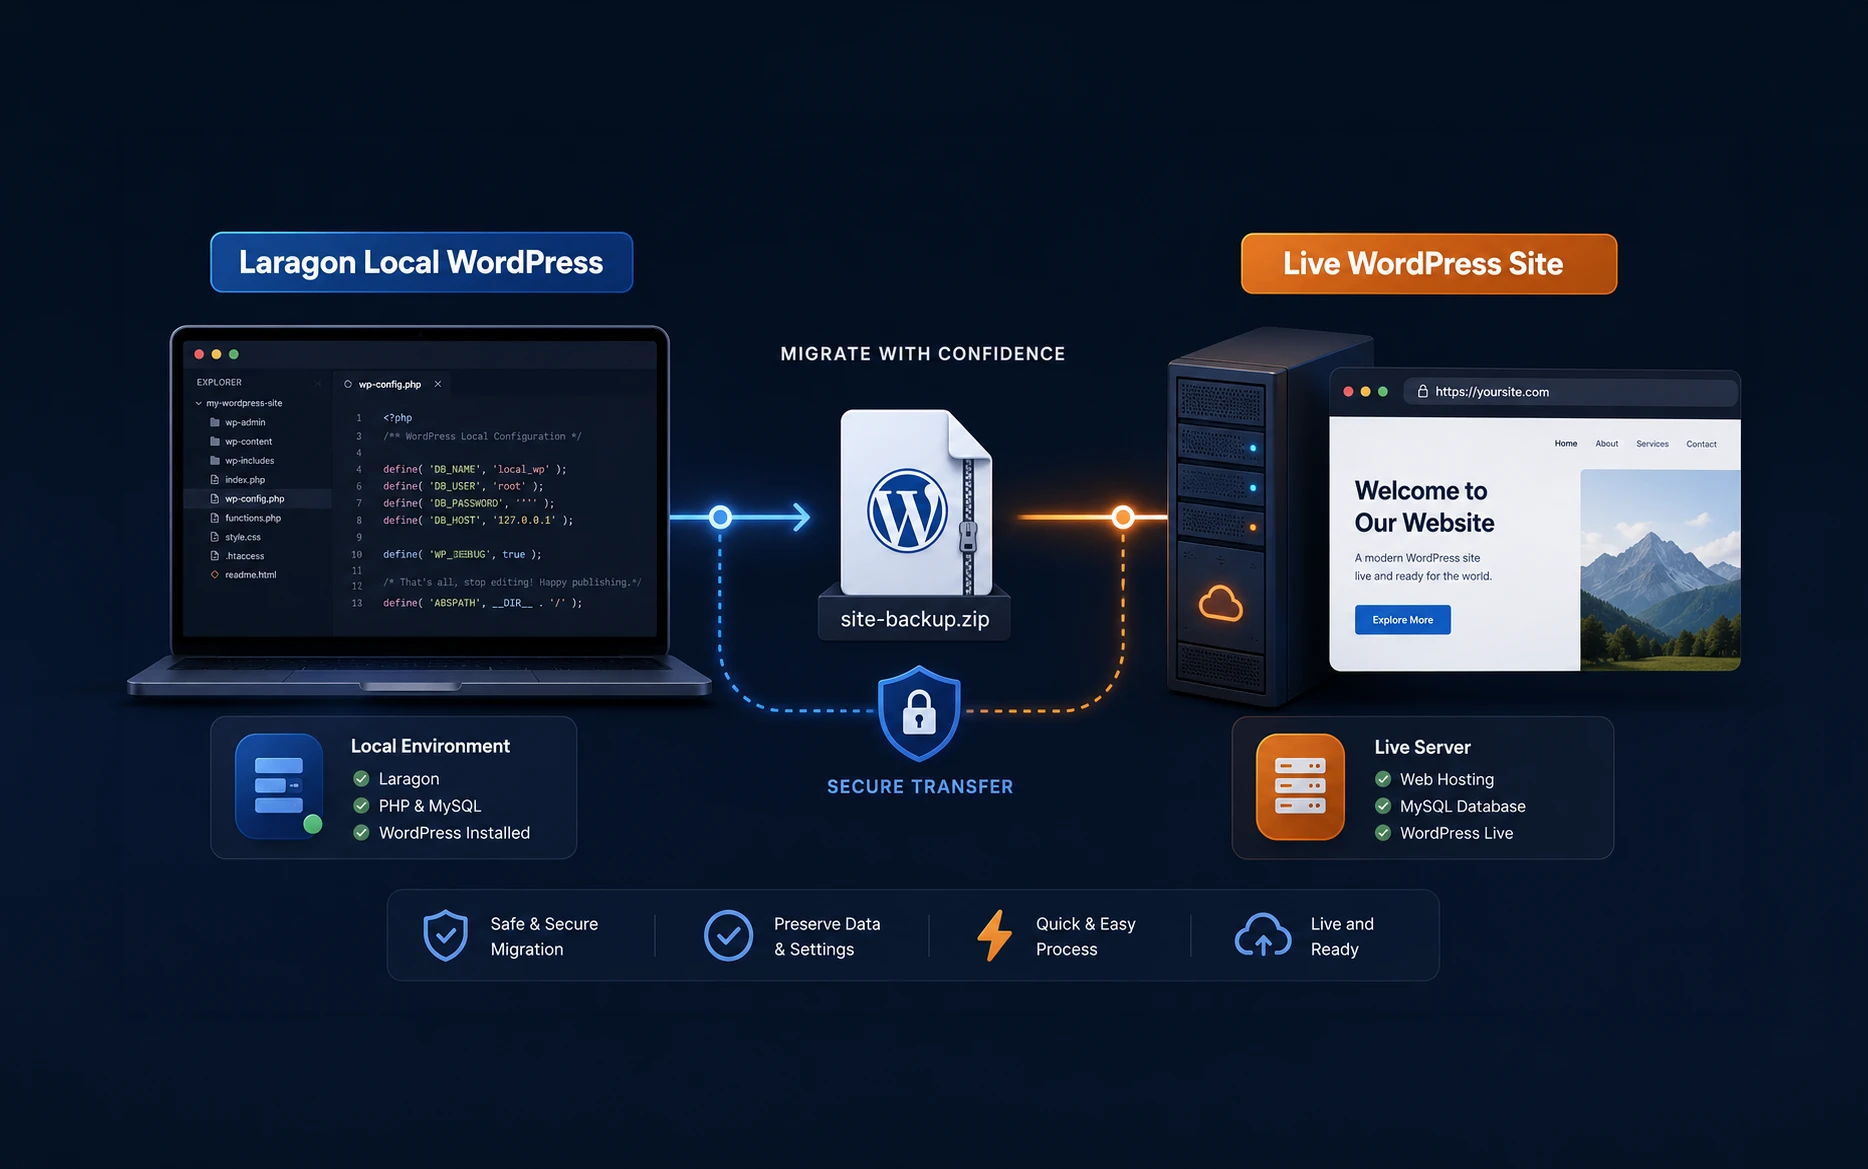
In this article, I would like to explain how to migrate WordPress from local to live server.
Most of my WordPress projects start locally. I prefer building the site on my own system first, testing the layout, setting up the custom code, checking plugins, and only then moving it to the client server.
For local development, I use Laragon. For migration, my current workflow is All-in-One WP Migration Pro. It is not the only way to migrate WordPress, but in my experience, it is one of the least painful ways when the site is already built and ready to go live.
In this article, I’ll explain my usual workflow, why it works well, where things can go wrong, and how you can migrate a WordPress site for free if you do not want to use a pro migration plugin.
Why I Build WordPress Sites Locally First
Building directly on the live server is possible, but I personally avoid it unless the project is very small or already live. A local setup gives me more freedom.
I can test layouts, break things, rebuild sections, install plugins, write custom PHP, and experiment without affecting the client’s actual website. This is especially useful when I am working with Bricks Builder, Elementor, custom post types, ACF fields, or custom plugins.
Laragon makes this workflow comfortable because it is lightweight, fast, and easy to use for PHP and WordPress development. The official Laragon documentation describes it as a portable and isolated local development environment for PHP, Node.js, Python, Go, Ruby, and other stacks.
For WordPress work, that means I can quickly spin up a local site, develop it properly, and later move the complete site to the remote server.
My Usual Workflow: Laragon + All-in-One WP Migration Pro
This has become my standard workflow for most WordPress client projects:
- Build the site locally in Laragon.
- Test the frontend, admin area, forms, menus, and dynamic content.
- Export the complete local site using All-in-One WP Migration Pro.
- Install a fresh WordPress copy on the live server.
- Install All-in-One WP Migration on the live site.
- Import the local export file into the live site.
- Save permalinks, test everything, and only then point the domain if needed.
The main advantage is simplicity. The plugin packages the site files, database, media uploads, themes, plugins, and settings into a migration file. The official WordPress plugin page describes All-in-One WP Migration as a tool for migration, backup, and restore, and ServMask offers the Pro and Unlimited extensions for larger or professional migration workflows.
For a freelancer, time matters. If a migration plugin saves two or three hours of manual cleanup, it often pays for itself very quickly.
Step 1: Prepare the Local WordPress Site
Before exporting from Laragon, I always clean up the local site. This avoids carrying unnecessary junk to the live server.
I usually check these things first:
- Delete unused themes and plugins.
- Remove test pages, dummy posts, and sample media files.
- Clear cache if a caching plugin is installed.
- Make sure WordPress, theme, and plugins are updated.
- Check forms, menu links, buttons, and dynamic templates.
- Confirm there are no hardcoded local URLs inside custom code.
That last point is important. Migration plugins are good at replacing database URLs, but they cannot always fix URLs hardcoded inside PHP, CSS, JavaScript, or custom HTML blocks.
Step 2: Export the Site from All-in-One WP Migration
Inside the local WordPress dashboard, go to All-in-One WP Migration and export the site as a file.
For normal sites, I keep the export simple. I do not exclude media files unless the upload folder is huge and I have a specific reason to handle media separately.
The Pro workflow is useful because upload limits on shared hosting can quickly become a headache. Many shared servers have low PHP upload limits, memory limits, or timeout restrictions. The Unlimited Extension is designed to bypass the normal import size limitation from the plugin side, although the server itself can still create issues if it is heavily restricted.
Step 3: Prepare the Live Server
On the live server, I usually start with a clean WordPress installation. This keeps the migration predictable.
The basic live setup looks like this:
- Create the hosting account or add the domain.
- Install a fresh copy of WordPress.
- Log in once and confirm WordPress is working.
- Install All-in-One WP Migration.
- Increase PHP limits if the server allows it.
If the domain is not yet pointed to the new server, I test using a temporary URL, hosts file entry, or staging URL depending on the hosting provider.
Step 4: Import the Local Site to the Live Site
Once the plugin is installed on the live WordPress site, import the migration file.
After import, the plugin will usually overwrite the existing WordPress database and files with the migrated site. That is expected. This is why I prefer starting with a fresh WordPress installation and not a site that already contains important content.
After the import finishes, I log in again using the local site admin credentials because the live WordPress database has now been replaced.
Step 5: Save Permalinks and Test the Site
After every migration, I immediately go to Settings > Permalinks and click Save Changes. I do this even if I do not change anything.
This refreshes the rewrite rules and solves many common 404 issues after migration.
Then I test the site properly:
- Homepage and inner pages.
- Header, footer, and menus.
- Forms and email notifications.
- Bricks or Elementor templates.
- Custom post type archive and single pages.
- Search, filters, pagination, and dynamic data.
- Mobile layout.
- SSL and mixed content issues.
This final testing step is where many migrations fail. The site may look okay on the homepage, but a form, archive template, popup, or dynamic query may still be broken.
Common Problems After Migration
Even with a good plugin, WordPress migration is not always perfect. These are the issues I see most often.
The first one is wrong URLs. Sometimes old local URLs remain in buttons, custom fields, CSS files, JavaScript files, or builder settings. If the migration plugin does not catch them, I use a search-replace tool carefully.
The second issue is broken permalinks. This is usually fixed by saving permalinks again.
The third issue is server limits. Large imports may fail because of upload size, memory limit, max execution time, or security rules on shared hosting.
The fourth issue is email. Contact forms may work locally or on staging, but fail on the live server because mail sending is not configured properly. I prefer setting up SMTP for client sites instead of depending on the default PHP mail function.
The fifth issue is page builder behavior. Builders like Bricks, Elementor, and Oxygen may need CSS regeneration, cache clearing, or template checks after migration.
Other Pro Migration Methods
All-in-One WP Migration Pro is not the only paid migration workflow. There are other good tools, and the best one depends on your project size, hosting environment, and comfort level.
Duplicator Pro is popular among developers because it creates a package and installer. It is useful when you want more control over the migration process.
WP Migrate is another developer-friendly option, especially when database push-pull workflows are important. It is more useful when you frequently move sites between local, staging, and production environments.
Many managed WordPress hosts also provide their own migration tools. If you are moving to a host like Kinsta, WP Engine, Cloudways, or similar managed platforms, it is worth checking their migration workflow before using a separate plugin.
For my kind of work, where I often build a complete site locally and then move it once to the live server, All-in-One WP Migration Pro is usually enough.
The Free Way: Manual WordPress Migration
If you do not want to use a pro plugin, you can migrate WordPress manually. This is slower, but it is worth learning because every WordPress developer should understand what actually happens during migration.
The official WordPress migration documentation explains the core idea clearly: move the WordPress files, export and import the database, update the URLs, and adjust configuration where needed.
A manual migration has four main parts:
- Copy the WordPress files from local to server.
- Export the local database.
- Import the database on the remote server.
- Update wp-config.php and replace local URLs with live URLs.
Manual Migration Step 1: Export the Local Database
In Laragon, you can open phpMyAdmin or another database tool and export the local WordPress database as an SQL file.
Before exporting, note the local database name, username, and table prefix. The table prefix is usually wp_, but it may be different depending on how the site was created.
Manual Migration Step 2: Upload WordPress Files
Next, upload the local WordPress files to the live server using FTP, SFTP, or the hosting file manager.
You need the full WordPress installation, including:
- wp-admin
- wp-includes
- wp-content
- WordPress root files like wp-config.php, index.php, and .htaccess
If WordPress is already installed on the server, you may only need to upload wp-content and then handle the database separately. But for beginners, moving the complete project is usually easier to understand.
Manual Migration Step 3: Create a Remote Database
On the hosting control panel, create a new MySQL database and database user. Then give that user permission to access the database.
After that, import the SQL file you exported from Laragon into the new remote database using phpMyAdmin.
Manual Migration Step 4: Update wp-config.php
Now update the database credentials in wp-config.php on the server.
define( 'DB_NAME', 'remote_database_name' );
define( 'DB_USER', 'remote_database_user' );
define( 'DB_PASSWORD', 'remote_database_password' );
define( 'DB_HOST', 'localhost' );
Most shared hosts use localhost as the database host, but not all. If your host gives you a separate database host name, use that instead.
Manual Migration Step 5: Replace Local URLs
This is the part where many manual migrations go wrong.
A local Laragon site may use a URL like this:
http://myproject.test
The live site may use:
https://example.com
You cannot safely replace URLs only by opening the SQL file in a text editor and using Find and Replace. WordPress stores some data as serialized arrays. A careless replacement can break widgets, builder data, menus, and plugin settings.
I prefer using a proper search-replace tool after the site is connected to the database. WP-CLI is excellent if your host supports it:
wp search-replace “http://myproject.test” “https://example.com” –skip-columns=guid
If WP-CLI is not available, you can use a trusted search-replace plugin, run the replacement, test the site, and then remove the plugin.
Manual Migration Step 6: Save Permalinks
After the files and database are connected, log in to WordPress and save permalinks again.
If the site shows 404 errors on inner pages, this is the first thing I check.
Free Plugin Options
There are free migration plugins too, but most have some limitation. Usually the free version works well for small sites, but file size limits or import limits appear when the site becomes larger.
The free All-in-One WP Migration plugin can still be useful for smaller websites. For larger sites, the Pro or Unlimited extension becomes more practical.
Duplicator also has a free version, and it can work well for many migrations. But for bigger sites, complex hosting, or repeated client work, the paid versions usually save time.
My honest recommendation is this: learn the manual method even if you use a plugin. Plugins make migration faster, but manual knowledge helps you fix the site when something fails.
My Practical Migration Checklist
This is the checklist I like to follow before calling a migration complete:
- Backup the local site before export.
- Export a clean copy, not a messy development copy.
- Keep a copy of the migration file safely.
- Use a fresh WordPress install on the live server when possible.
- Check PHP version compatibility.
- Check file permissions if uploads or plugin updates fail.
- Save permalinks after import.
- Regenerate builder CSS if needed.
- Clear all cache layers.
- Test forms with real email delivery.
- Check mobile pages, not just desktop.
- Take a fresh live backup after everything works.
Which Method Should You Use?
For client work, I personally prefer using All-in-One WP Migration Pro because it is fast and predictable. It lets me focus more on the website and less on migration troubleshooting.
For developers who frequently sync local, staging, and production sites, tools like WP Migrate may be a better fit.
For beginners or one-time migrations, a free plugin may be enough if the site is small.
For serious WordPress development, the manual method is still worth learning. It teaches you how WordPress really stores files, database tables, URLs, uploads, and configuration.
Final Thoughts
Migrating WordPress from local to live is not just a technical step at the end of a project. It is part of the delivery workflow.
A smooth migration depends on how cleanly the site was built, how carefully it was exported, and how well it was tested after import.
My current workflow with Laragon and All-in-One WP Migration Pro works well for most of my projects. But I still like knowing the manual method because it gives me confidence when a plugin-based migration fails.
If you are a freelance WordPress developer, do not treat migration as a small final task. Build a repeatable checklist. It will save you from last-minute client delivery stress.
FAQs
Yes. You can migrate a Laragon WordPress site to a live server using a migration plugin like All-in-One WP Migration Pro, or manually by moving files and database.
No, it is not necessary. It is convenient, especially for larger sites and client work. For small sites, the free version or a manual migration may be enough.
The safest free method is to manually copy the files, export and import the database, update wp-config.php, and run a proper serialized search-replace for URLs.
In many cases, WordPress rewrite rules need to be refreshed. Go to Settings > Permalinks and click Save Changes.
If possible, yes. But if DNS is not ready, use a staging URL or hosts file setup and switch to the final domain after testing.