
For many years, CSS developers wanted one feature more than almost anything else.
A parent selector.
CSS allowed us to style child elements based on their parent, but we could not easily do the opposite.
For example:
.card .title {
    color: blue;
}
This works because .title exists inside .card.
But what if we wanted to style the .card only when it contains a specific element?
For years, the answer was usually:
Add another class.
Modify the template.
Write JavaScript.
The CSS Has Selector finally changed that.
The Problem Before the CSS Has Selector
Imagine a simple card component.
Some cards have a featured badge.
<div class="card">
    <span class="badge">Featured</span>
    <h2>Product Name</h2>
</div>

<div class="card">
    <h2>Another Product</h2>
</div>
Before :has(), if we wanted a different style for the first card, we usually added another class.
<div class="card has-badge">
    <span class="badge">Featured</span>
    <h2>Product Name</h2>
</div>
Then:
.card.has-badge {
    border: 2px solid orange;
}
There is nothing wrong with this approach.
But many times, we are adding classes only because CSS could not understand the relationship between elements.
In WordPress development, I have done this many times. Add a PHP condition, check if something exists, output a different class, and then write CSS.
For many situations, that extra step is no longer required.
How the CSS Has Selector Works
With the CSS Has Selector, we can write:
.card:has(.badge) {
    border: 2px solid orange;
}
This means:
Select .card elements that have .badge inside.
The HTML stays clean.
No additional classes.
No JavaScript.
No template changes.
This is why many developers call :has() the parent selector in CSS.
Styling Forms Using CSS Has Selector
Forms are one of the best places to use :has().
Example:
<div class="form-group">
    <label>Email Address</label>
    <input type="email" required>
</div>
Normally, styling the parent .form-group based on the input state required JavaScript.
Now we can write:
<style>
      .form-group:has(input:user-invalid) {
    border: 1px solid red;
}
CSS can detect the invalid input and style the container automatically.
Creating Interactive Elements Without JavaScript
Another useful example is selected states.
HTML:
<label class="option">
    <input type="checkbox">
    Receive updates
</label>
CSS:
.option:has(input:checked) {
    border: 1px solid green;
}
When the checkbox is selected, the whole option area changes.
For small UI interactions like this, CSS is now powerful enough without JavaScript.
Styling WordPress Menus Using :has()
Here is a practical WordPress example.
Many navigation menus contain dropdown items.
The HTML structure is usually:
<div class="menu">
    <li>
        <a href="#">Services</a>
        <ul>
            <li>Website Design</li>
            <li>SEO</li>
        </ul>
    </li>
    <li>
        <a href="#">About Us</a>
    </li>
</div>
Using the CSS Has Selector:
.menu li:has(ul) > a {
    font-weight: 600;
    color: red;
}
Only menu items containing a submenu will be targeted.
No need to add another menu class.
Using CSS Has Selector With Bricks Builder and WordPress
Modern WordPress builders like Bricks Builder already generate clean HTML structures.
Sometimes we need a style change depending on whether certain content exists.
Example:
.post-card:has(.featured-category) {
    transform: scale(1.03);
}
If the blog card contains a featured category, the entire card gets a different style.
I personally prefer this approach for small conditional styling because it keeps templates cleaner.
Instead of adding PHP logic just to output another CSS class, CSS can handle the condition.
Combining :has() With Other Modern CSS Features
The real power comes when combining :has() with other CSS features.
Example:
.gallery:has(.item:hover) .item:not(:hover) {
    opacity: 0.5;
}
When one gallery item is hovered, other items fade.
Previously, this type of interaction was commonly handled with JavaScript.
Now it can be done with a few lines of CSS.
Browser Support for CSS Has Selector
When :has() was introduced, many developers avoided it because support was limited.
That has changed.
The CSS Has Selector is now supported in modern versions of major browsers including:
Chrome, Edge, Safari, Firefox, etc.
For most modern websites, it is safe to use.
CSS Has Selector Performance Tips
Because :has() checks relationships between elements, avoid writing very broad selectors.
For example:
body:has(.active) {

}
The browser needs to check a very large area.
A better approach:
.tabs:has(.active) {

}
Keep it close to the component you are styling.
Common Mistakes When Using :has()
The biggest mistake is thinking :has() should replace every CSS class.
It should not.
Classes are still useful.
Use the CSS Has Selector when the design depends on:
- whether an element exists
- the state of a child element
- a specific relationship inside a component
Use normal classes when they make the structure easier to understand.
Final Thoughts
The CSS Has Selector is a small feature that creates a big change in how we write CSS.
For years, developers created extra classes, template conditions, and JavaScript solutions because CSS could not make decisions based on what existed inside an element.
Now it can.
This is part of a bigger change happening in CSS.
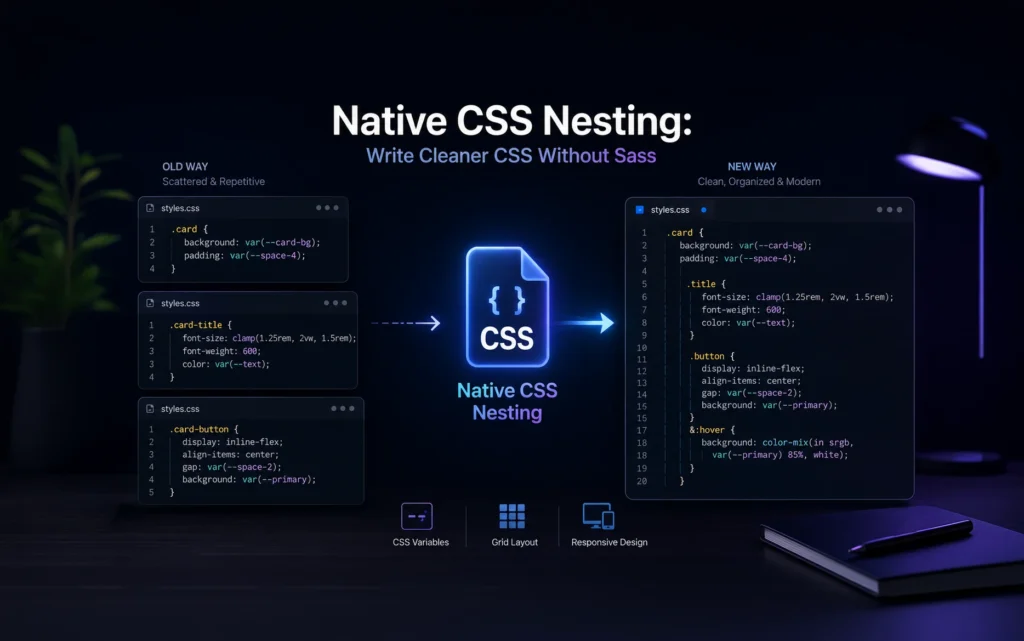
Modern CSS is slowly removing many of the workarounds we depended on for years. Features like the CSS Has Selector and native CSS nesting are making stylesheets cleaner, easier to maintain, and reducing the need for extra tools or complicated solutions.
I recently wrote about native CSS nesting and how it helps organize CSS without relying on preprocessors like Sass. Combined with selectors like :has(), everyday CSS development feels much more component-friendly than it did a few years ago. https://mayagrafix.com/blog/native-css-nesting-write-cleaner-css/
I have found :has() especially useful in WordPress and component-based projects where I want cleaner templates without adding extra classes only for styling.
It is not a selector you need everywhere.
But when the right situation appears, it can replace many old workarounds with one simple line of CSS.
For more information visit https://developer.mozilla.org/en-US/docs/Web/CSS/Reference/Selectors/:has
Frequently Asked Questions About CSS Has Selector
The CSS Has Selector :has() is a modern CSS selector that allows you to select an element based on what it contains. It is often called a parent selector because you can style a parent element depending on its child elements.
For example, you can style a card differently only when that card contains a specific badge, image, button, or any other element.
Before :has(), CSS could easily select child elements, but selecting a parent based on a child was not possible.
The CSS Has Selector changed this by allowing CSS to check inside an element and apply styles depending on what it finds.
In some cases, yes.
The CSS Has Selector can replace small JavaScript solutions used only for styling changes. Examples include changing styles based on checked inputs, form states, active elements, or existing content.
However, JavaScript is still required for complex interactions and application logic.
The CSS Has Selector is supported by all major modern browsers, including Chrome, Edge, Safari, and Firefox.
For most current web projects, it is safe to use.
Normal usage of the CSS Has Selector does not cause performance problems.
The best practice is to keep selectors specific to components instead of checking very large sections of a page.
For example:
.card:has(.badge) {

}
is better than:
body:has(.badge) {

}
No. CSS classes are still important and useful.
The CSS Has Selector works best when a style depends on the existence or state of another element.
If a simple class makes your code easier to understand, continue using it.
Yes. The CSS Has Selector works well with WordPress themes and builders like Bricks Builder and Elementor.
It can help reduce unnecessary custom classes or PHP conditions when the styling depends on existing HTML elements.